Install the Natalia Analytics agent VM
The agent VM runs on your premises, collects CDR from your Alcatel PBX, and pushes them to Natalia Cloud over a secure channel. 15-minute installation.
Compatibility matrix
System requirements
The Natalia Analytics agent ships as a Linux virtual appliance (OVA) under 100 MB, runnable on any modern hypervisor.
| Resource | Minimum | Recommended |
|---|---|---|
| vCPU | 1 | 1 |
| RAM | 512 MB | 1 GB |
| Disk | 5 GB | 10 GB |
| Network | 1 interface (NAT or bridge) | Bridge with reachable PBX |
| Operating system | Hardened minimalist Linux distribution | Provided in the appliance |
| Hypervisor | VMware ESXi, Proxmox, Hyper-V, VirtualBox | VMware vSphere, Proxmox |
| Outbound HTTPS | api.getnatalia.com:443 | api.getnatalia.com:443 + releases.getnatalia.com:443 |
Step 1/5
Download the OVA
From your Natalia Cloud account, request your access. The OVA download URL arrives by email, signed with its SHA-256 checksum.
# Verify the integrity of the downloaded file
sha256sum natalia-agent-<version>.ova
# The output must match the SHA-256 from the emailStep 2/5
Import on your hypervisor
The OVA follows the OVF 1.0 standard. Import it the usual way on your platform:
- VMware vSphere : File > Deploy OVF Template
- Proxmox VE :
qm importovf 100 natalia-agent-<version>.ova local-lvm - Microsoft Hyper-V : Action > Import Virtual Machine (use standard conversion tools if needed)
- VirtualBox :
VBoxManage import natalia-agent-<version>.ova
The agent's serial console then displays the admin password and the first-boot URL. See step 3.
Step 3/5
First boot, retrieve the admin password
On first boot, the agent generates a random 32-character admin password and prints it on the serial console and on the login banner. Connect to the VM serial console from your hypervisor.
================================================================
  Natalia Agent — first boot
================================================================
  Web UI URL    : https://10.0.0.42:8443
  Admin login   : admin
  Admin password: A7-x42P-q9zN-mKvL-bH3R-wT8d-fX1c-pE5s
  Cert SHA-256  : 4f:3a:21:0b:1e:8c:7d:91:6e:f5:...
================================================================
  Save this password — it will not be shown again.
================================================================Step 4/5
Configure the agent (web UI)
Open https://<VM-IP>:8443 in your browser. Verify the self-signed certificate's SHA-256 fingerprint against the one shown on the serial console, then accept it. Log in with the admin password.
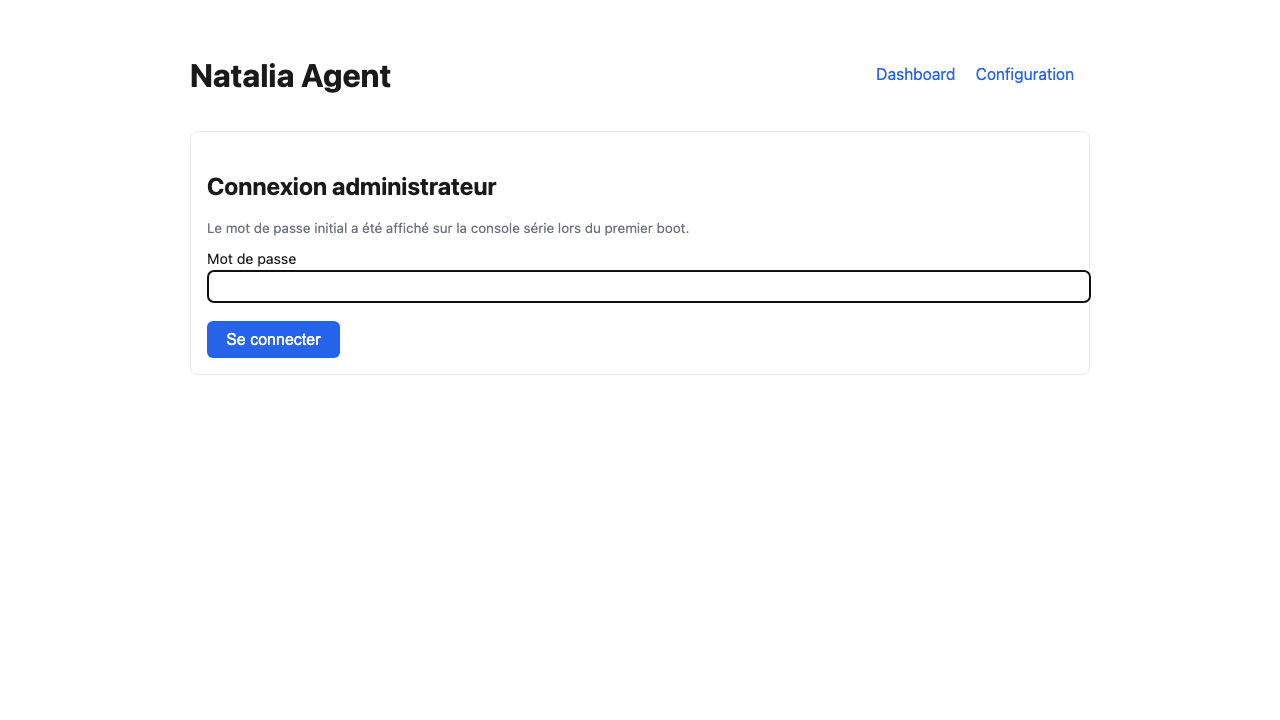
You will be asked to:
- Change the admin password (mandatory on first login)
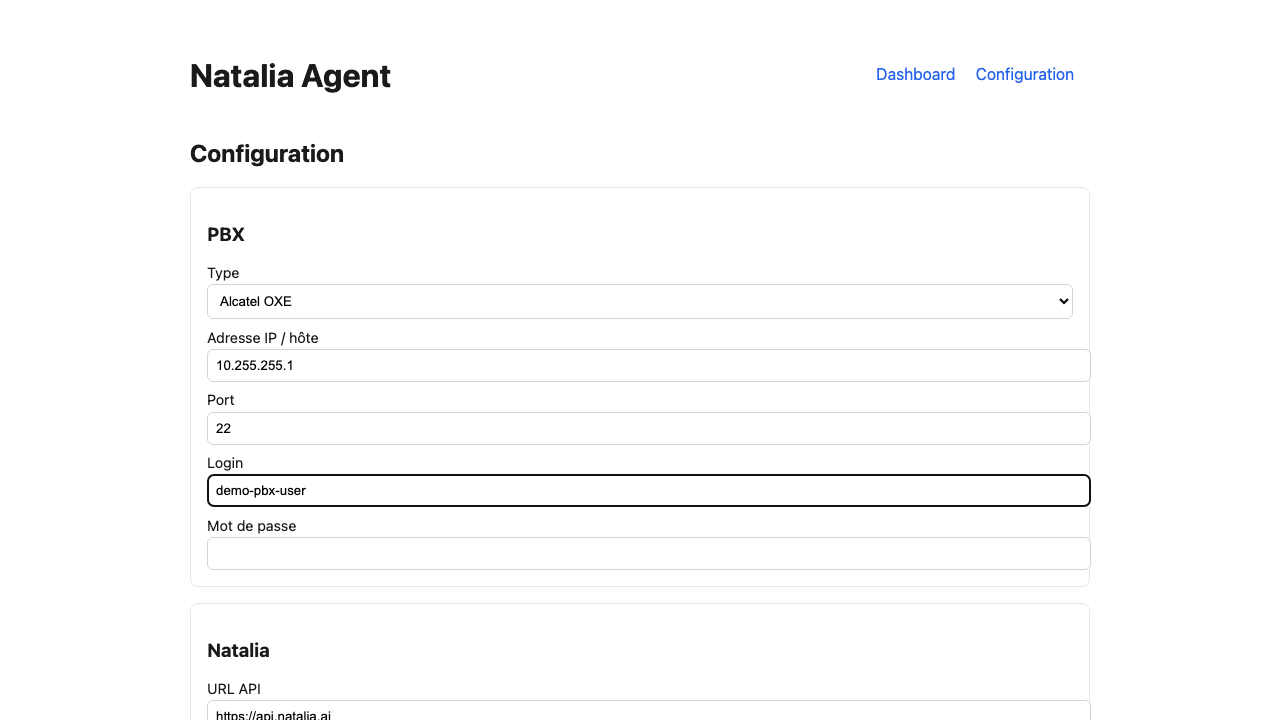
- Select your PBX type: OXE or OXO
- Enter the PBX IP, port, login and password
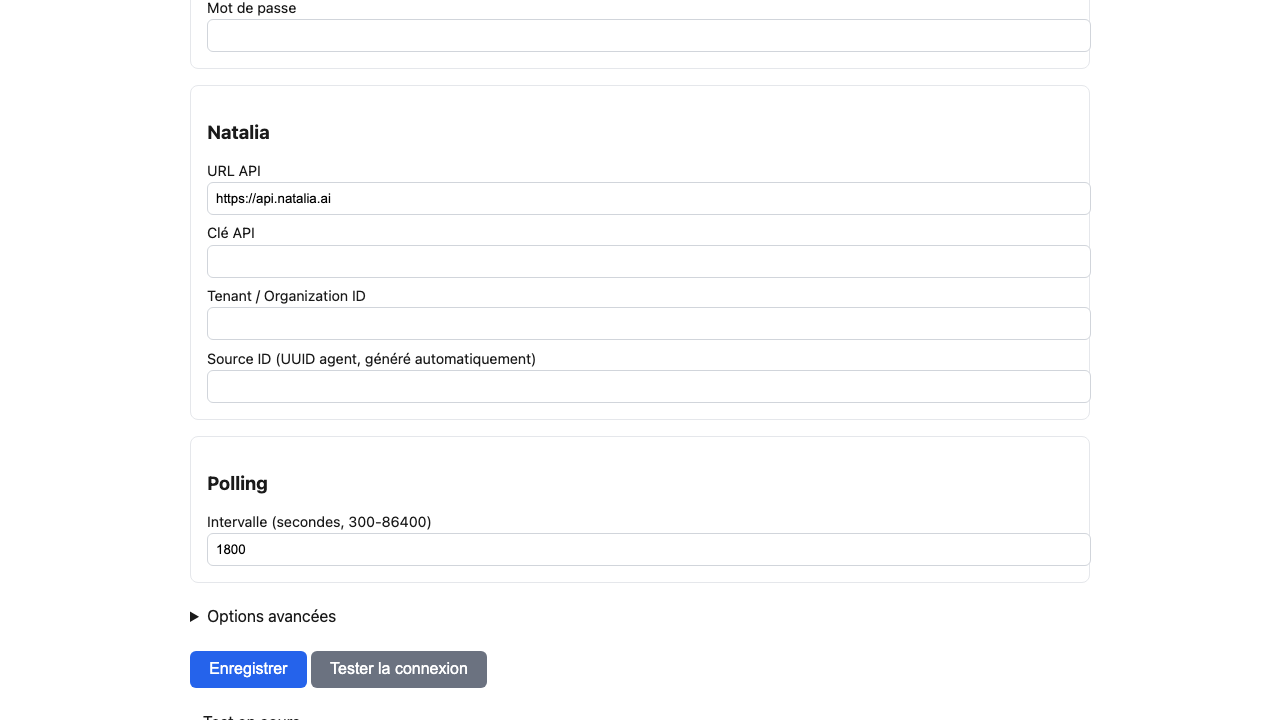
- Enter your Natalia API key and Organization ID (provided by email)
- Click "Test the connection" (verifies PBX reachability and credentials)
- Save (the agent starts polling at the default 30 min cycle)
Need help on the PBX side? See OXE configuration or OXO configuration.
Step 5/5
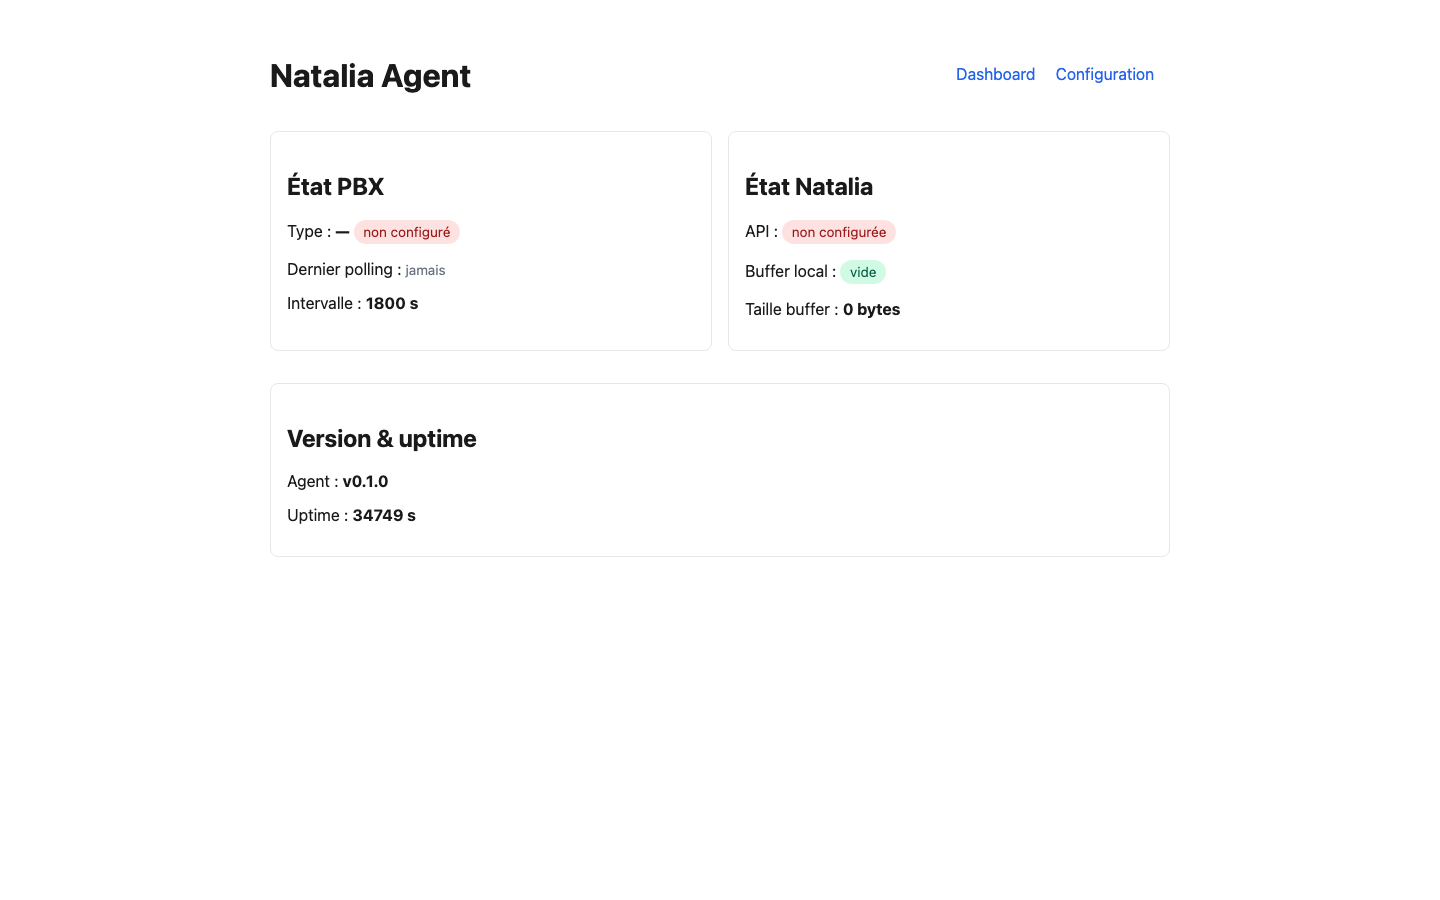
Verify the dashboard
The agent's local dashboard shows live status: PBX reachability, last collected files, disk buffer, push success/failure counts, 24h errors.
Trouble at this stage? See the complete error code reference (NAT-AGT-001 to NAT-AGT-010).