Install Natalia On-Premise
Turnkey VM appliance. Guided 5-step wizard. Plan for 30 to 45 minutes.
Recommended sizing
Three sizing profiles validated on Alcatel OXE / OXO deployments. The data disk already includes a 30% headroom for ingest spikes. The system disk is fixed at 20 GB across all three tiers (immutable OVA image).
| Small | Medium | Large | |
|---|---|---|---|
| vCPU | 2 | 4 | 8 |
| RAM | 4 GB | 8 GB | 16 GB |
| System disk | 20 GB | 20 GB | 20 GB |
| Data disk | 20 GB | 100 GB | 480 GB |
| Max PBX | 5 | 20 | 100 |
| Phone lines | 100 | 1 000 | 10 000 |
| CDR / day | 500 | 5 000 | 50 000 |
| Historical depth (native) | 1 year | 3 years | 5 years |
| Concurrent admin users | 3 | 10 | 25 |
- → Performance targets, all tiers: dashboard p95 < 500 ms (5 RPC fan-out), per-RPC p95 < 200 ms at 100k rows.
- → Hard-stop PBX and users enforced by the cryptographic license — no facturation surprise.
- → Tier change = new license file + VM resize (vCPU/RAM hot, data disk via LVM extend). No downtime upgrade path.
- → Beyond Large (100 PBX), contact us for a custom appliance.
Supported hypervisors
Standard OVA image (OVF 1.0).
Required network flows
| Mode | Inbound to appliance | Outbound from appliance |
|---|---|---|
| Strict | Internal only: PBX 22/443, admin browser 443. | None. |
| + 72h Support | Same as Strict. | Same as Strict + outbound 443 support tunnel ON CUSTOMER TRIGGER. |
| Connected | Same as Strict. | Same as +72h + permanent outbound 443 to api.getnatalia.com. |
Installation steps
-
1
Download the OVA
From the partner portal (SN2O integrator or Natalia).
-
2
Import in the hypervisor
Standard OVF procedure (VMware vSphere, Proxmox VE, Hyper-V).
-
3
First power-on
Initial password displayed on serial console.
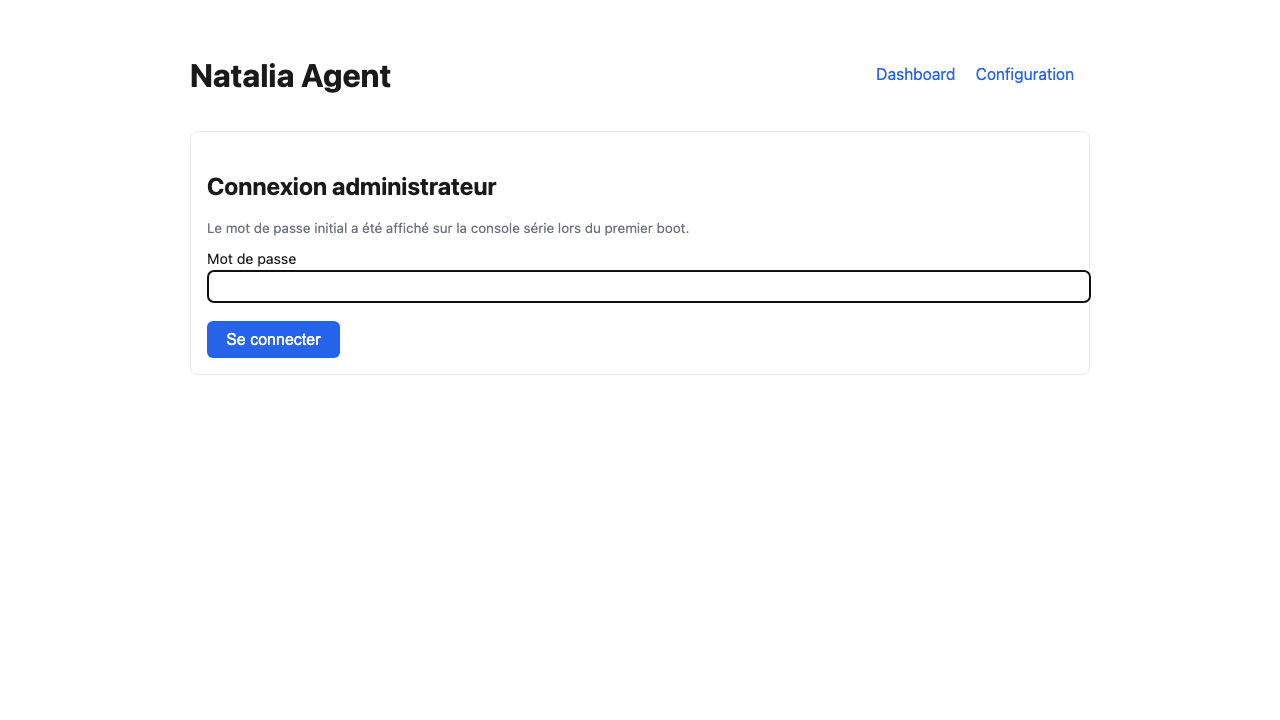
Administrator login screen — paste the initial password from the serial console. -
4
Connect to the local web UI
HTTPS web UI (self-signed bootstrap certificate).
-
5
5-step wizard
Admin password / license / network probes + mode / PBX / first collection.
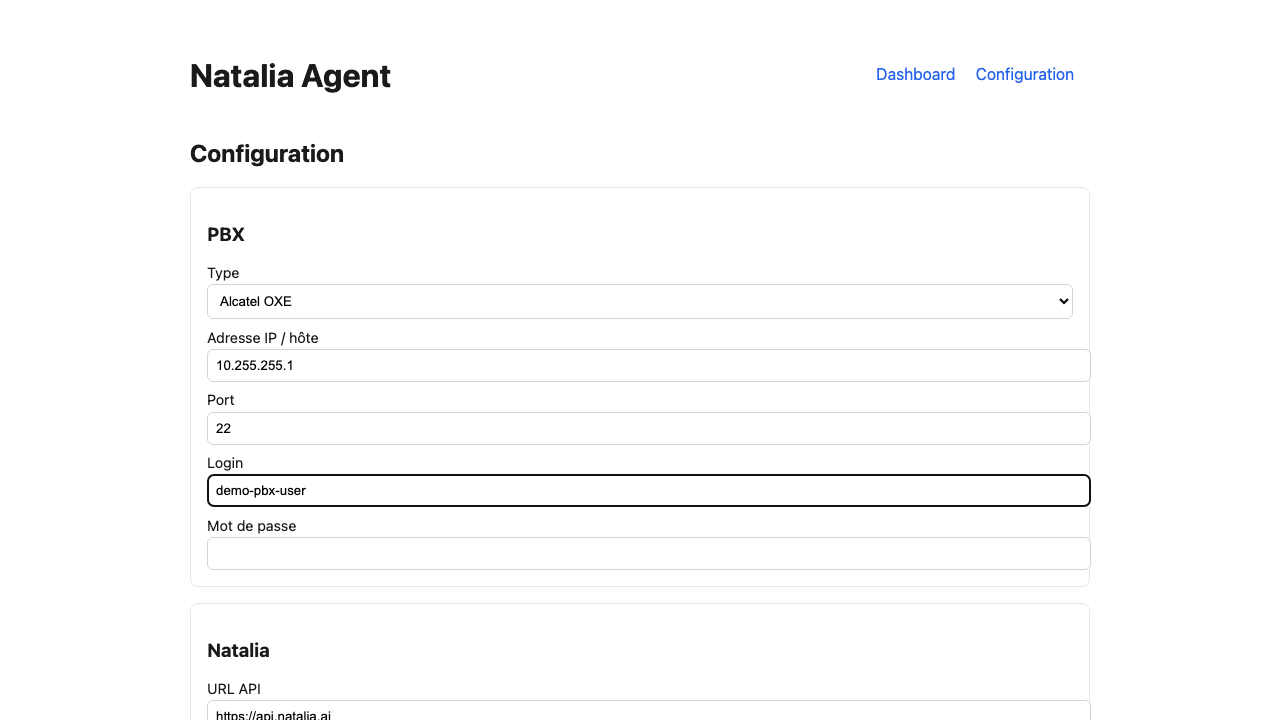
PBX configuration: type (OXE / OXO), IP, port, login. 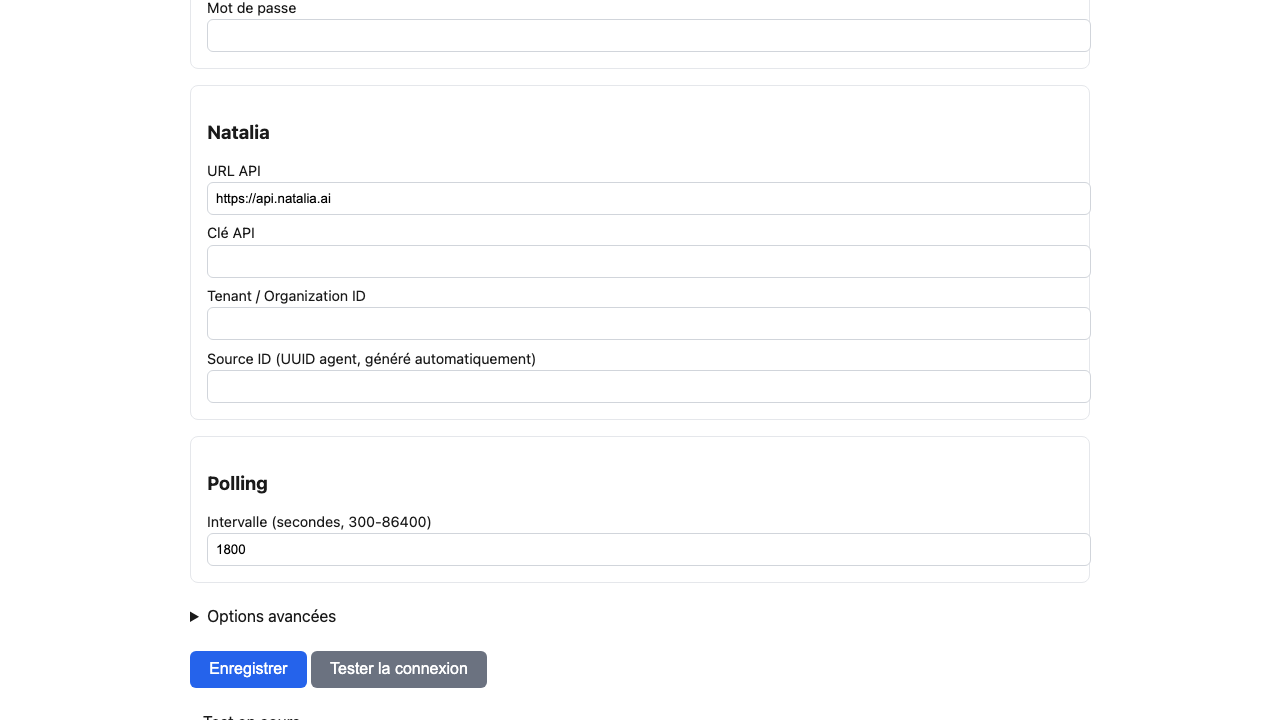
Validate the PBX connection before saving. -
6
Verify CDR collection
Open the dashboard, verify the first records are being ingested.
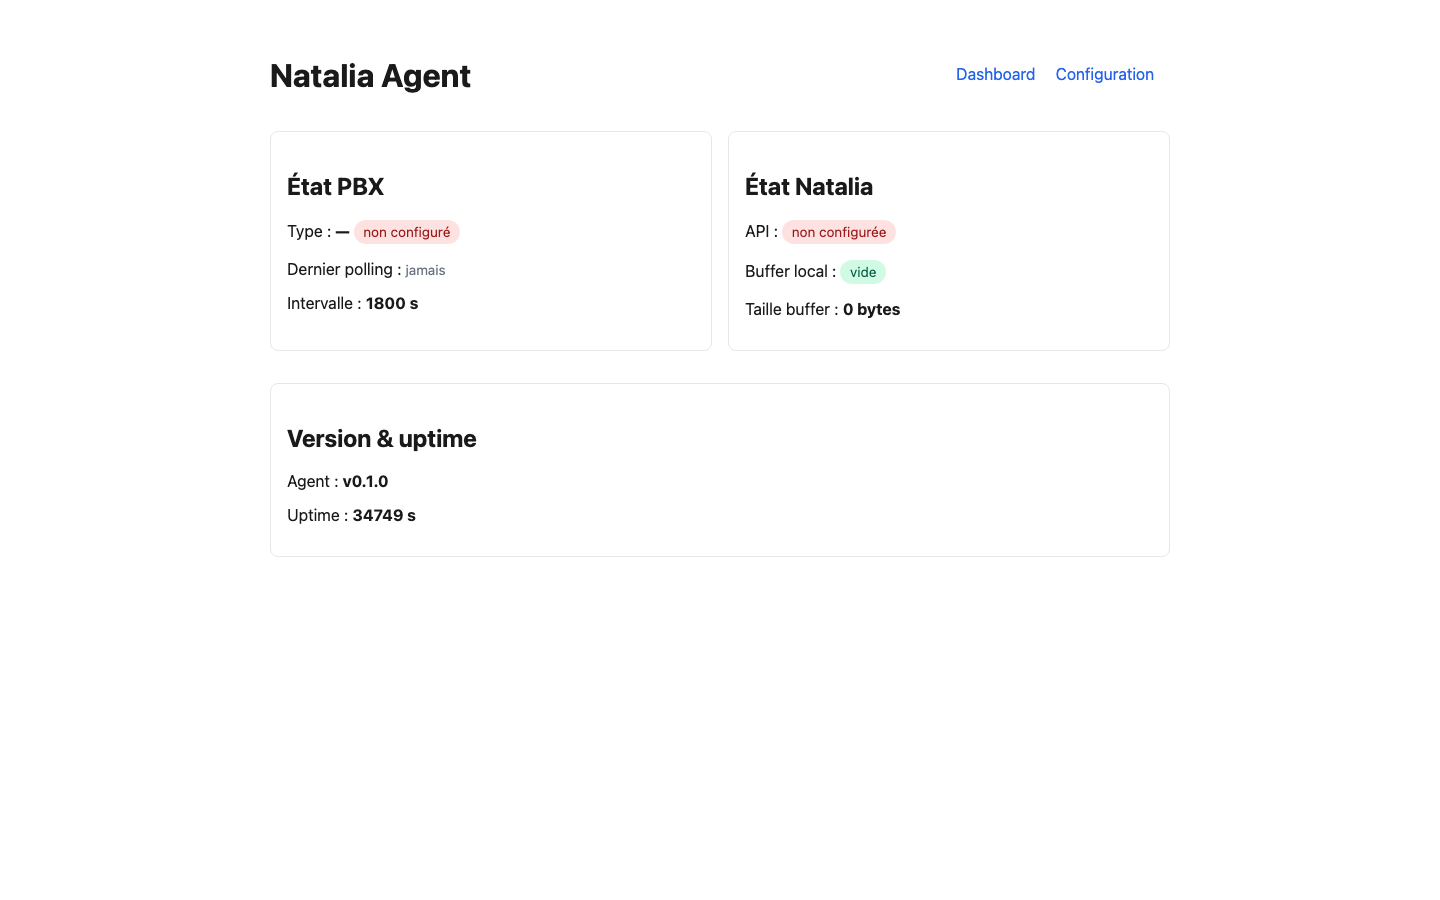
Local dashboard: PBX state, buffer, version, uptime. Visible on your LAN only.
License renewal
Offline procedure: upload the signed .toml license file via the local web UI. A grace period applies before any lockout.